A Beginner's Guide to Self-Hosting n8n with Docker and ngrok
A step-by-step guide to self-hosting n8n using Docker Desktop combined with ngrok to build a free, easy-to-deploy workflow automation system accessible from the internet.
In a previous post, I introduced n8n — the open-source workflow automation tool that has been gaining massive traction in the tech community and among automation enthusiasts. If you haven’t read it yet, check it out first to understand what n8n is and why it’s so powerful.
In this guide, we’ll get hands-on: self-hosting n8n on your personal computer using Docker Desktop and using ngrok to expose your local server to the internet.
This approach is ideal for beginners because:
- Completely free — No upfront infrastructure costs.
- Easy to set up — Quick configuration via Docker Compose.
- Resource-efficient — No need to rent a VPS or buy a domain name.
- Instant testing — Test Webhooks immediately against external services.
- Cross-platform — Runs smoothly on Windows, macOS, and Linux.
By the end of this guide, you’ll have a fully working n8n instance that can be accessed from anywhere via a public URL provided by ngrok.
When you run an application locally, its address looks like this:
http://localhost:5678This localhost address is only accessible from your own machine. External services like Telegram Bots, Discord Webhooks, Facebook Leads, or third-party APIs cannot reach your machine or send Webhook data to it.
ngrok is the solution to this problem. It is a secure tunneling tool that maps your localhost address to a public URL on the internet. Once activated, you’ll receive a URL like:
https://abc12345.ngrok-free.appWith the ngrok tunnel in place:
- n8n Webhooks can receive real-time data from the internet.
- Bots (Telegram, Discord, Slack, etc.) can connect directly to your local n8n instance.
- You can build and test automation scenarios exactly as you would on a real server.
Before getting started, make sure your machine meets the following requirements:
| Requirement | Details |
|---|---|
| Device | A computer running Windows, macOS, or Linux |
| Network | A stable internet connection |
| Account | A free ngrok account (sign up here) |
| Storage | Approximately 2 GB of free disk space |
Docker packages and runs n8n in an isolated environment quickly, without requiring you to manually install complex dependencies like Node.js or a database.
Visit the Docker website at https://www.docker.com/products/docker-desktop/ and select the version that matches your operating system.
- Open the downloaded installer.
- Check “Use WSL 2 instead of Hyper-V” for optimal performance.
- Click Install, wait for it to finish, and restart your machine if prompted.
Open Terminal (macOS/Linux) or PowerShell (Windows) and run:
docker --versionIf a version string appears (e.g., Docker version 28.x.x), the installation was successful.
Create a folder named n8n anywhere you like:
- Windows:
D:\n8n - macOS/Linux:
~/n8n
Inside that folder, create two empty files with exactly these names:
n8n/├── .env└── docker-compose.yamlOpen the .env file in a text editor (Notepad, VS Code, etc.) and paste the following:
N8N_HOST=localhostN8N_PORT=5678N8N_PROTOCOL=http
GENERIC_TIMEZONE=Asia/Ho_Chi_MinhTZ=Asia/Ho_Chi_Minh
N8N_SECURE_COOKIE=false
WEBHOOK_URL=
💡 Key variable explanations:
GENERIC_TIMEZONE&TZ: Sets the timezone toAsia/Ho_Chi_Minh, ensuring schedule-based trigger nodes (Cronjobs) fire at the correct local time.N8N_SECURE_COOKIE=false: Required when running n8n locally or through ngrok. Without this, you will encounter a login error.WEBHOOK_URL: The address for receiving Webhook data. Leave it blank for now — you’ll update it in Step 9.
Open the docker-compose.yaml file and paste the following:
services: n8n: image: n8nio/n8n:latest container_name: n8n restart: unless-stopped ports: - '5678:5678' env_file: - .env volumes: - ./n8n_data:/home/node/.n8n💡 Configuration breakdown:
image: n8nio/n8n:latest: Pulls the latest official release from Docker Hub.ports (5678:5678): Maps the port so you can access the container via port 5678.env_file: Loads configuration from the.envfile into the container.volumes (./n8n_data): Data persistence — mounts internal data to a real directory on your machine. Without this line, all workflows and credentials will be wiped every time the container restarts.
Open Terminal/CMD, navigate to your project folder, and run:
cd D:\n8n # Replace with your actual pathdocker compose up -dDocker will automatically: Pull the image → Create the container → Start the server in the background. The first run may take 1–3 minutes depending on your internet speed.
Verify it’s running: Open your browser and go to http://localhost:5678.
If the n8n welcome screen appears, you’ve completed this step. n8n will prompt you to create an Admin account — enter your email and password to secure the system.
- Go to: https://dashboard.ngrok.com/signup
- Register for a free account (quick sign-in via Google or GitHub is supported).
- Once inside the Dashboard, find the Your Authtoken section to retrieve your authentication token.
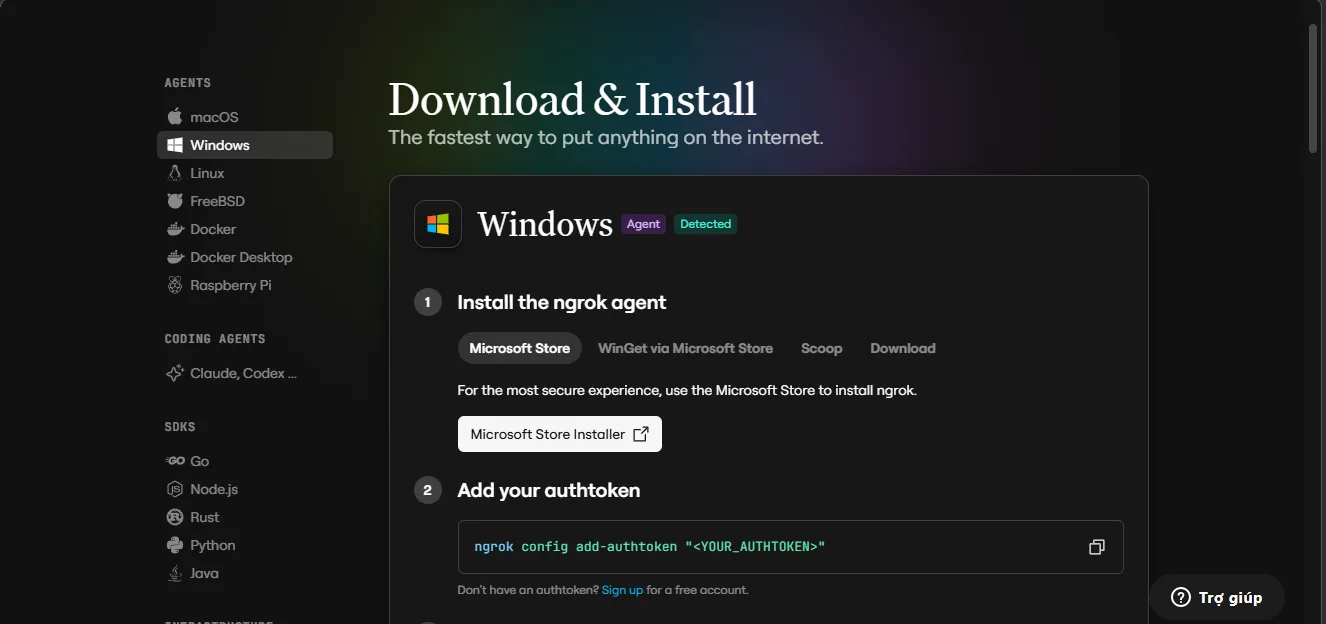
- Download ngrok at: https://ngrok.com/download
- Unzip the archive — you’ll get
ngrok.exe(Windows) orngrok(macOS/Linux). - Open Terminal in the folder containing the ngrok file and authenticate your account:
ngrok config add-authtoken YOUR_AUTHTOKEN_HEREReplace
YOUR_AUTHTOKEN_HEREwith the actual token from your ngrok Dashboard.
Run the following command to create a tunnel pointing to port 5678:
ngrok http 5678The Terminal will display the connection status. Look for the Forwarding line:
Forwarding https://xxxx-xxxx-xxxx.ngrok-free.app -> http://localhost:5678Copy the entire public HTTPS link.
⚠️ Do not close the Terminal window running ngrok — closing it will immediately shut down the tunnel.
Open the .env file again and update the WEBHOOK_URL variable with the ngrok link you just copied:
WEBHOOK_URL=https://abc12345.ngrok-free.app⚠️ Make sure there is no trailing slash at the end of the URL.
Every time you modify the .env file, you need to restart the container for n8n to apply the new configuration:
docker compose downdocker compose up -d🎯 Final check: Open your browser and visit your ngrok link (e.g., https://abc12345.ngrok-free.app). If the n8n login screen appears — congratulations, your system is now live on the internet!
n8n/├── .env├── docker-compose.yaml└── n8n_data/ ← Auto-generated; stores database and workflowsThe ngrok URL changes every time you restart
On a Free plan, every time you stop and re-run ngrok http 5678, ngrok generates a new random URL. You must update WEBHOOK_URL in .env and restart Docker:
docker compose down && docker compose up -dDon’t shut down Docker Desktop n8n runs entirely on your local machine. If your computer shuts down, goes to sleep, or Docker stops running, all workflow automation will halt immediately.
Back up your data regularly
All workflows and credentials live in the n8n_data folder. Make it a habit to back up this directory to avoid data loss in the event of an incident.
Now that n8n is publicly accessible, you can start building right away:
- Telegram/Discord Bot — Automatically respond to messages or push system notifications.
- Facebook Lead Automation — Pull customer data from ads into Google Sheets or a CRM in real time.
- AI Content Pipeline — Collect news via Webhook → Summarize with OpenAI/Gemini/Claude → Auto-publish to your website or social media.
- Task Management — Sync data between Notion, Trello, Google Calendar, and Email.
The Docker Local + ngrok setup is ideal for learning, experimenting, and optimizing personal workflows. However, consider moving to a dedicated VPS when:
- You need the system to run continuously 24/7 without depending on your personal computer.
- You’re handling large volumes of Webhooks with low latency requirements.
- You’re deploying for a commercial project or production environment that demands high security and uptime.
At that point, you’ll need to rent a VPS, purchase a domain, and configure a Reverse Proxy (Nginx, Caddy) with proper SSL.
With just a few basic configuration steps and the free trio of Docker Desktop, n8n, and ngrok, you’ve built a highly flexible automation hub — no deep DevOps knowledge required.
Good luck with your setup, and see you in the next post! 🚀