Self-Hosted n8n with Cloudflare Tunnel – More Stable, No VPS Required
A step-by-step guide to self-hosting n8n using Docker Desktop combined with Cloudflare Tunnel for a permanent URL, free SSL, and no more URL changes like with ngrok.
If you’ve been following this Automation series, you’re already familiar with the n8n journey from the very beginning:
- Part 1: A general introduction to n8n — the powerful open-source workflow automation tool that’s gaining serious traction in the tech community.
- Part 2: A guide to self-hosting n8n using Docker Desktop + ngrok — the fastest way to run n8n locally and expose it to the internet.
If you haven’t read those two posts yet, go back and check them out first to build a solid foundation, since this article builds directly on that knowledge.
In this post, we’re taking things up a notch: self-hosting n8n with Cloudflare Tunnel — the solution for anyone who needs a permanent URL, a stable connection, and proper SSL security, all while running entirely for free on a personal computer.
Both solve the same problem: exposing your local application to the internet without a VPS or a static IP address. But they have some important differences:
| Criteria | ngrok (Free) | Cloudflare Tunnel (Free) |
|---|---|---|
| Permanent URL | ❌ Changes every restart | ✅ Tied to your domain, fixed forever |
| Custom domain | ❌ Uses ngrok subdomain | ✅ Uses your own domain/subdomain |
| SSL/HTTPS | ✅ Yes (automatic) | ✅ Yes (automatic via Cloudflare) |
| Speed & latency | Average | Lower (Cloudflare global CDN) |
| Connection limits | Yes (Free plan) | Unlimited |
| Setup complexity | ⭐ Very simple | ⭐⭐ Requires your own domain |
| Best for | Quick testing, experimentation | Long-term, stable production use |
Quick verdict:
- Use ngrok when you need to test something fast, don’t care about the URL changing, and don’t have a domain yet.
- Use Cloudflare Tunnel when you want a permanent URL, long-term stability, and you already have (or are willing to buy) a domain name.
💡 Domain names like
.io.vnor.id.vncurrently cost around 30,000–60,000 VND/year — a worthwhile investment if you plan to use n8n seriously.
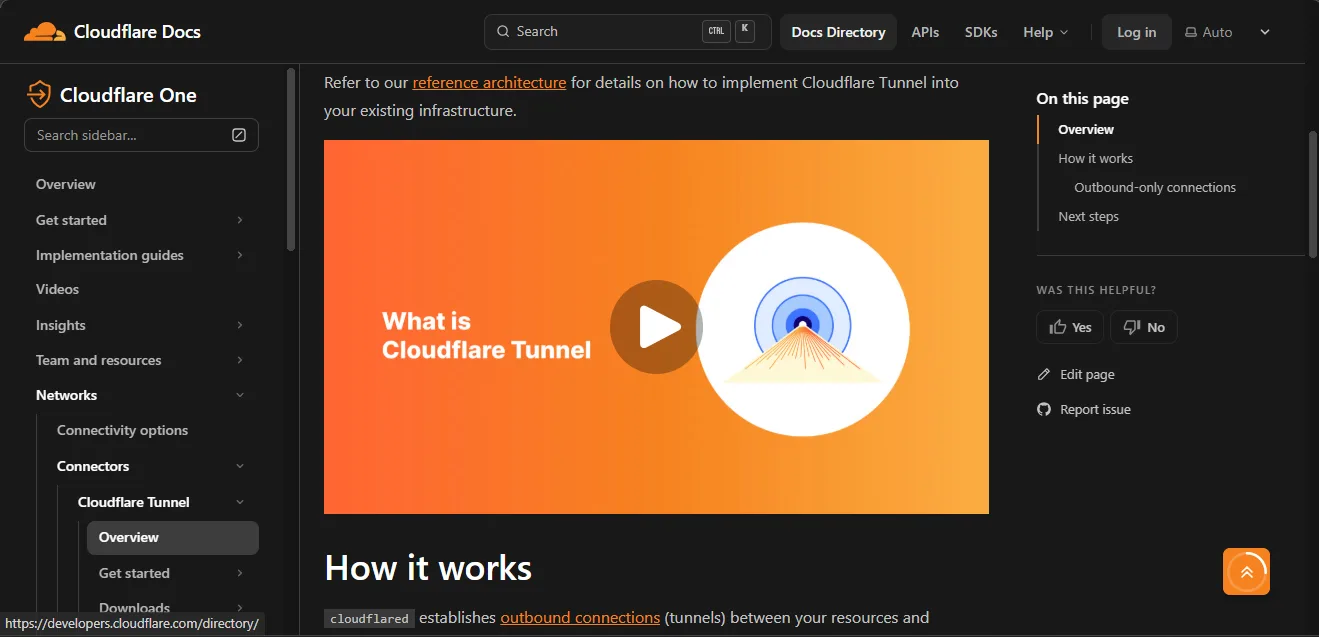
Instead of letting ngrok manage the tunnel, Cloudflare Tunnel uses a small process called cloudflared that runs on your machine. This process opens an outbound connection to Cloudflare’s infrastructure — no port forwarding, no firewall configuration, no static IP needed.
Internet user ↓https://n8n.yourdomain.com (Cloudflare DNS + SSL) ↓Cloudflare Edge Network ↓cloudflared (running on your machine) ↓http://localhost:5678 (n8n inside Docker)The entire flow is encrypted, secure, and the URL never changes as long as you don’t delete the tunnel.
| Requirement | Details |
|---|---|
| Device | A computer running Windows, macOS, or Linux |
| Docker Desktop | Installed and running (see Part 2) |
| n8n | Already running successfully at http://localhost:5678 (see Part 2) |
| Domain name | Any domain with its nameservers pointed to Cloudflare |
| Cloudflare account | Free at cloudflare.com |
| Storage | ~100MB extra for cloudflared |
⚠️ Prerequisite: You must have a domain name, and that domain must be managed by Cloudflare (nameservers pointing to Cloudflare). If you don’t have one yet, buy a domain from any registrar (Namecheap, GoDaddy, Tenten, etc.) and add it to Cloudflare following their guide.
If your domain is already managed by Cloudflare, skip this step.
- Log in to Cloudflare Dashboard.
- Click Add a Site and enter your domain name.
- Select the Free plan and follow the instructions to update your Nameservers at your domain registrar.
- Wait anywhere from a few minutes to a few hours for Cloudflare to verify ownership.
Once the dashboard shows an Active status in green, you’re ready for the next steps.
- From the Cloudflare Dashboard, click Zero Trust in the left sidebar (or go directly to one.dash.cloudflare.com).
- If this is your first time, Cloudflare will ask you to name your team — enter anything you like, for example:
myteam. - Select the Free plan and confirm.
- Inside the Zero Trust Dashboard, go to Networks → Tunnels.
- Click Create a tunnel.
- Select Cloudflared as the connector type → Click Next.
- Give your tunnel a name, for example:
n8n-local→ Click Save tunnel.
Cloudflare will display an install command containing your token, which looks something like this:
cloudflared service install eyJhIjoiXXXXXXXXXXXXXXXXXXXX...Copy the entire long token string (the part after install ) — you’ll need it in Step 4. You don’t need to run this command yet.
Still within the tunnel creation flow, Cloudflare will move to the Route tunnel screen. This is where you define which subdomain will point to n8n.
Fill in the fields as follows:
| Field | Value |
|---|---|
| Subdomain | n8n (or any name you prefer) |
| Domain | Select your domain from the list |
| Type | HTTP |
| URL | localhost:5678 |
Result: your n8n instance will be accessible at https://n8n.yourdomain.com.
Click Save tunnel to finish the configuration.
Instead of installing cloudflared directly on your machine, we’ll run it as a service inside Docker Compose — cleaner and easier to manage.
Open the docker-compose.yaml file in your n8n project folder and add the cloudflared service:
services:  n8n:    image: n8nio/n8n:latest    container_name: n8n    restart: unless-stopped    ports:      - '5678:5678'    env_file:      - .env    volumes:      - ./n8n_data:/home/node/.n8n
  cloudflared:    image: cloudflare/cloudflared:latest    container_name: cloudflared    restart: unless-stopped    command: tunnel --no-autoupdate run --token ${CLOUDFLARE_TUNNEL_TOKEN}    depends_on:      - n8n
💡
depends_on: - n8nensurescloudflaredonly starts after the n8n container is ready.
Open your .env file and add the following line, pasting in the token you copied in Step 2.3:
N8N_HOST=localhostN8N_PORT=5678N8N_PROTOCOL=http
GENERIC_TIMEZONE=Asia/Ho_Chi_MinhTZ=Asia/Ho_Chi_Minh
N8N_SECURE_COOKIE=false
WEBHOOK_URL=https://n8n.yourdomain.com
CLOUDFLARE_TUNNEL_TOKEN=eyJhIjoiXXXXXXXXXXXXXXXXXXXX...
Important notes:
- Replace
n8n.yourdomain.comwith the actual subdomain you configured in Step 3.- Replace the token placeholder with your actual token.
- Do not wrap the token in quotation marks.
From your project directory, run:
docker compose downdocker compose up -dDocker will pull the cloudflare/cloudflared image and start both containers. The tunnel connection typically takes 10–30 seconds to establish.
docker compose logs cloudflaredIf you see lines similar to the following, the tunnel is connected successfully:
INF Connection registered connIndex=0 ...INF Connection registered connIndex=1 ...Go back to Zero Trust → Networks → Tunnels. Your n8n-local tunnel should now show a Healthy status in green.
Open your browser and navigate to:
https://n8n.yourdomain.comIf the n8n login screen appears with a green HTTPS padlock in the address bar — congratulations, you’ve successfully self-hosted n8n with Cloudflare Tunnel! 🎉
n8n/├── .env ← Contains configuration and CLOUDFLARE_TUNNEL_TOKEN├── docker-compose.yaml ← Defines both the n8n and cloudflared services└── n8n_data/ ← Auto-generated, stores the database and workflows| Problem with ngrok | Solution with Cloudflare Tunnel |
|---|---|
| URL changes every restart | Permanently fixed URL |
Must update WEBHOOK_URL every time | Configure once, use forever |
| Must restart Docker each time ngrok changes URL | Fully automatic, no manual steps needed |
| ngrok terminal must stay open | cloudflared runs silently inside Docker, auto-starts with your machine |
Secure your tunnel token
The .env file contains a Cloudflare token that has full control over your tunnel. Never commit this file to Git or share it publicly. Add .env to your .gitignore if you use Git.
Your computer must be on Cloudflare Tunnel is only a bridge — n8n still runs on your local machine. If your computer shuts down or Docker stops, n8n will be inaccessible from the outside.
No port forwarding required Cloudflare Tunnel does not require you to open any ports on your router or firewall. All connections are initiated as outbound from your machine — a major security advantage over manual port-forwarding.
Back up your data
All your workflows and credentials are stored in the n8n_data folder. Back up this directory regularly.
With a permanent URL and proper SSL, you can now integrate n8n with services that require a stable, unchanging webhook URL:
- Stripe Webhooks — Receive real-time payment notifications automatically.
- GitHub/GitLab Actions — Trigger workflows whenever new code is pushed to a repo.
- Notion Database Trigger — React when data in Notion changes.
- Telegram/Discord Bot — A bot that receives commands and replies 24/7 (as long as your machine stays on).
- AI Content Pipeline — Collect data via Webhook → Process with OpenAI/Gemini/Claude → Auto-publish to your website.
The Local Docker + Cloudflare Tunnel setup addresses most of ngrok’s shortcomings and fits the needs of the majority of individual users. That said, consider upgrading to a VPS when:
- You need the system to run truly 24/7, independent of your personal computer.
- Your workload is large and requires dedicated resources (CPU/RAM).
- You’re deploying for a business production environment with SLA and uptime requirements.
Good news: once you’re comfortable with Cloudflare Tunnel, moving to a VPS is straightforward — just install Docker on the VPS and run the same docker-compose.yaml file.
| ngrok | Cloudflare Tunnel | |
|---|---|---|
| Free | ✅ | ✅ |
| No VPS needed | ✅ | ✅ |
| Permanent URL | ❌ | ✅ |
| Automatic SSL | ✅ | ✅ |
| Requires own domain | ❌ | ✅ |
| Runs silently in Docker | ❌ | ✅ |
| Suitable for long-term use | ❌ | ✅ |
With Cloudflare Tunnel, you now have a truly stable, secure, and professional self-hosted n8n setup — completely free, with the only cost being a domain name that runs a few dollars a year.
Good luck with your setup, and see you in the next post! 🚀