How to Install n8n with Docker Desktop – A Complete Beginner's Guide
A step-by-step guide to installing n8n with Docker Desktop, written for beginners. Covers installation commands, environment configuration, data management, and common troubleshooting.
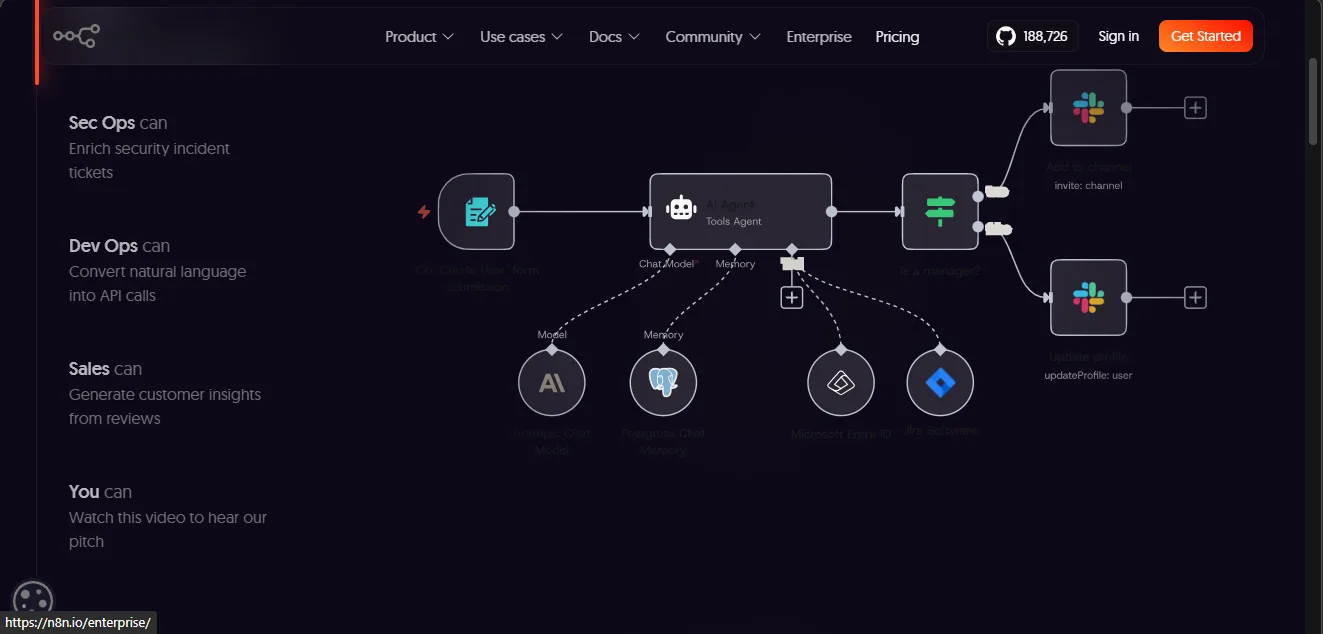
n8n is a powerful open-source workflow automation platform that lets you connect and automate data processing across hundreds of popular services, including:
- Gmail
- Telegram
- Discord
- Google Sheets
- Notion
- OpenAI
- Webhooks / APIs
- Airtable
- Slack
- Shopify
- WordPress
What makes n8n stand out is that you can self-host it completely for free on your personal computer or your own VPS — with no limits on the number of workflows, unlike many other automation platforms.
Over the past few years, n8n has grown rapidly thanks to:
- Fully free to use
- Unlimited automations when self-hosted
- Built-in AI Agent and ChatGPT support
- Intuitive drag-and-drop interface
- Hundreds of app integrations
- Capable of handling highly complex automations
- Easily extensible via APIs and Webhooks
Individuals and businesses alike are using n8n to:
- Auto-post to Facebook
- Build AI chatbots
- Auto-reply on Telegram
- Sync customer data
- Send marketing emails
- Scrape website data
- Track orders
- Handle real-time webhooks
- Build custom AI automation systems
This is a question a lot of people ask.
n8n can be used completely for free if you:
- Install it on your personal computer
- Install it on your own VPS
- Run it via Docker self-hosting
You get access to almost the full power of n8n without any monthly fee. This is exactly why n8n is considered one of the best alternatives to:
- Zapier
- Make.com
- Pabbly
- IFTTT
Docker makes deploying n8n:
- Fast
- Clean
- Less error-prone
- Easy to back up
- Easy to update
- No need to manually install Node.js
Docker also helps you:
- Avoid environment conflicts
- Easily migrate to another machine
- Upgrade versions with minimal friction
- Restore data simply
This is also the most widely used installation method in the n8n community today.
To run Docker Desktop and n8n smoothly, your machine should meet the following requirements:
- Windows 10 64-bit
- Windows 11 64-bit
- CPU with Virtualization support
- Minimum 4GB RAM
- 8GB RAM or more recommended
- Virtualization enabled in BIOS
- Stable internet connection
Official download page:
https://www.docker.com/products/docker-desktop/
Once downloaded:
- Open the
.exefile - Click Next through the prompts
- Select “Use WSL 2 instead of Hyper-V”
- Complete the installation
Open PowerShell as Administrator and run:
wsl --installThen restart your computer.
Open Docker Desktop.
If you see the status:
Engine runningDocker is working correctly.
Create the following folder:
D:\n8nInside it, create a subfolder:
D:\n8n\dataFinal structure:
D:\n8n└── dataThis directory will store:
- Workflows
- Credentials
- Database
- System configuration
This ensures your data is not lost when updating the container.
Inside the D:\n8n folder, create a file named:
docker-compose.ymlPaste the following content:
version: '3.8'
services:  n8n:    image: n8nio/n8n:latest    container_name: n8n
    restart: always
    ports:      - '5678:5678'
    environment:      - TZ=Asia/Ho_Chi_Minh      - GENERIC_TIMEZONE=Asia/Ho_Chi_Minh      - N8N_SECURE_COOKIE=false      - N8N_RUNNERS_ENABLED=true      - N8N_HOST=localhost      - N8N_PORT=5678      - WEBHOOK_URL=http://localhost:5678
volumes: - ./data:/home/node/.n8nTZ=Asia/Ho_Chi_MinhSets the timezone for the Docker container.
GENERIC_TIMEZONE=Asia/Ho_Chi_MinhEnsures workflows run on the correct local time. This affects:
- Schedule Triggers
- Cron Jobs
- Delay Nodes
N8N_SECURE_COOKIE=falseAllows n8n to run over HTTP locally. If you later deploy with a real HTTPS domain, set this to true.
N8N_RUNNERS_ENABLED=trueEnables n8n’s new task runner system, which improves workflow stability in recent versions.
WEBHOOK_URL=http://localhost:5678Sets the default webhook base URL. This is important when working with:
- Telegram Bots
- Webhook APIs
- OAuth callbacks
- Discord Bots
Open Terminal or PowerShell in the D:\n8n directory and run:
docker compose up -dDocker will automatically:
- Pull the n8n image
- Create the container
- Start the server in the background
The first run may take a few minutes depending on your internet speed.
Open your browser and navigate to:
http://localhost:5678If everything went correctly, you’ll see the n8n account setup screen.
On first access, n8n will ask you to create an admin account:
- Password
- Full name
Once done, you’re ready to start building workflows.
Build an automation that:
- Sends messages
- Auto-replies
- Sends notifications
Create:
- AI chatbots
- AI Agents
- AI-powered workflows
- Automated content generation
Automate:
- Form data saving
- Data sync
- Customer management
n8n is exceptionally powerful at handling real-time webhooks. You can:
- Receive data from websites
- Process API payloads
- Trigger automations in real time
docker compose up -ddocker compose stopdocker compose restartdocker compose downdocker psdocker logs -f n8nOpen PowerShell in D:\n8n and run:
docker compose downdocker compose pulldocker compose up -dDocker will pull the latest version automatically. Your workflow data will be preserved.
All n8n data is stored in:
D:\n8n\dataSimply copy this folder to back up everything, including:
- Workflows
- Credentials
- Users
- Database
Possible causes:
- Virtualization not enabled in BIOS
- WSL2 not installed
Fix:
wsl --installOr enable Intel VT-x / AMD-V in your BIOS settings.
Check if the container is running:
docker psIf the container isn’t listed, check the logs:
docker logs n8nChange the port mapping in docker-compose.yml:
ports: - '8080:5678'Then access n8n at:
http://localhost:8080For local use, this isn’t strictly necessary. However, if you plan to deploy on a VPS or expose n8n to the internet, enabling authentication is strongly recommended.
Open docker-compose.yml and add the following under environment:
environment: - N8N_BASIC_AUTH_ACTIVE=true - N8N_BASIC_AUTH_USER=admin - N8N_BASIC_AUTH_PASSWORD=yourpasswordThen restart:
docker compose restart| Resource | Link |
|---|---|
| Website | https://n8n.io |
| Documentation | https://docs.n8n.io |
| Docker Hub | https://hub.docker.com/r/n8nio/n8n |
| GitHub | https://github.com/n8n-io/n8n |
n8n is one of the most powerful and practical open-source automation platforms available today. Its biggest appeal lies in being:
- Completely free to use
- Fully self-hostable
- Unlimited workflows
- Excellent AI support
- Easily extensible via APIs and Webhooks
Installing via Docker Desktop keeps your setup stable, manageable, and straightforward to maintain over the long term.
If you’re looking to get started with automation, AI workflows, or building your own custom automation system — n8n is absolutely worth trying.